Initiating a Leveraged SA from the Exam Scheduling Page
If you are Leveraging an exam, you can do so from the Exam Scheduling Page or the Home page.
Before you begin
Note: To leverage or accept another agency's supervisory activity,
you must first request and be granted access to the SA from the agency that
conducted the SA.
About this task
Note: To initiate an SA, you must be assigned the staff user or
staff director role.
Procedure
-
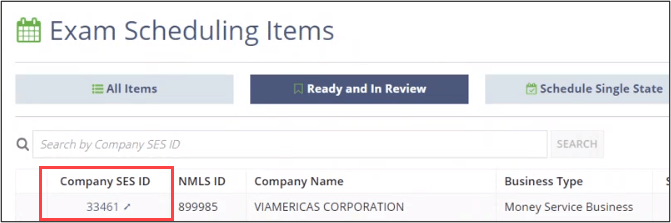
Click the Company SES ID link for the Supervisory Activity you decided to leverage on the
Ready and In Review list on the Exam
Scheduling Items page.
-
Click Initiate Supervisory Activity.
 This initiates a new SA where you can select Leveraged for Scope Type.
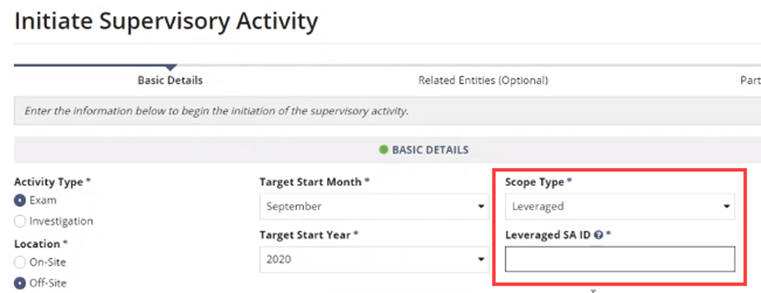
- Select Leveraged for Scope Type.
- Enter the desired Leveraged SA ID.
-
Complete all required fields in the Basic
Details section.
Note: You can select an Exact Start Date when confirming the initiation of a Supervisory Activity. This field is optional and the definition of “start date” will vary by agency.
-
Select the relevant Business Types and
Business Activities for the SA.
Note: Multiple items can be selected from these two drop-down menus. To clear a selected item, click the highlighted item again.
- Upload any relevant documents.
- Click Next.
- Add any desired information in the Related Entities section.
- Click Next.
- Click Add Participants.
-
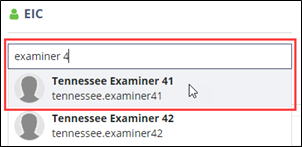
Search for and select the desired member of your staff and assign as EIC.
Note: You do not need to add any participants to initiate an SA, but it is a best practice to assign an EIC at this stage in the process.
-
Click Next.
Note: When adding an Examiner in Charge (EIC) or other participants, if a calendar icon appears, it means that user is actively participating on other SAs. Click the calendar icon

to see the current workload for the user. - Ensure the information provided is correct.
-
Select Schedule Supervisory Activity from the
Next Action section.
Note: You also have the option of Sending a Supervisory Activity for Review.
-
Click Initiate Supervisory Activity in the bottom
right.
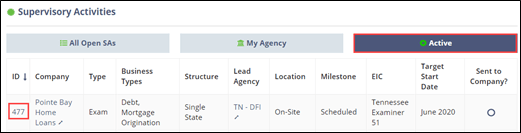
It may take a few seconds, but the newly initiated SA will appear in the supervisory activities section within the Active quick filter.